Locks 1 - 17 Derwent Mouth to Fradley Junction
Lock 1 - Derwent Mouth lockThis lock drops the T&M down to the River Trent where it meets the River Derwent. As the lower level varies due to it being a river there is no height given. A board showing the river level height is at the lower entrance. Boats should only venture down to the river when the green section is showing.
Locks 1 to 6 inclusive are double width locks.
 |
| Add caption |
 |
| Plaque commemorating the restoration of the canal |
 |
| River level indicator board |


Lock 3 - Aston lock (8' 1")


Lock 4 - Weston lock (10' 11")


Lock 5 - Swarkestone lock (10' 11")
No pictures
Lock 6 - Stenson lock (12' 4")


Lock 7 - Dallow lock (3' 6")


Lock 8 - Branston lock (3' 0")
This is Karen's favourite narrow gauge lock due its rural setting.

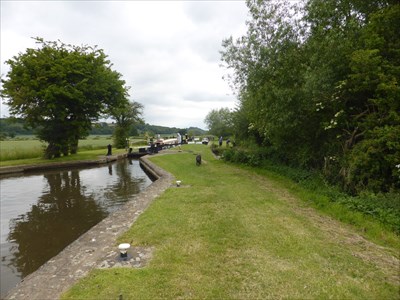

Lock 9 - Tatenhill lock (3' 7")


Lock 10 - Barton lock (5' 8")


Lock 12 - Alrewas lock (5' 8")


Lock 13 - Bagnall lock (5' 7")


Lock 15 - Hunts lock (5' 8")

Lock 16 - Keeper's lock (6' 10")

Lock 17 - Junction lock (8' 0")
The balance beams on the bottom gates are angled because of the bridge parapet causing an obstruction.


No comments:
Post a Comment